We’ve been talking reloading for a couple of weeks, and hope we’ve got our hooks in you regarding the merits. As an exercise of freedom, we suggest it is a tough one to beat: It quite literally feeds, even expands, your Second Amendment prerogatives in a way few activities can match. Excellent!
Long experience, however, teaches that this can be a frustrating juncture. It’s likely the advantage of “owning” the process of turning the four elementary inputs (primer, propellant, projectile and case) into an actual cartridge retains its appeal, but an annoying sort of complexity “devil” can also emerge from the details. If this is so, take our word for it—having terminology married correctly to process is the best way to get and keep that simple, encouraging thread intact.
Understand that while reloading equipment has vast variations, the actual construction of a cartridge from the base components requires only seven steps. Everything else is a special case or enhancement to one of these steps, or creates/allows for some greater versatility or precision in them. But necessary? Nope. Seven, and seven only.
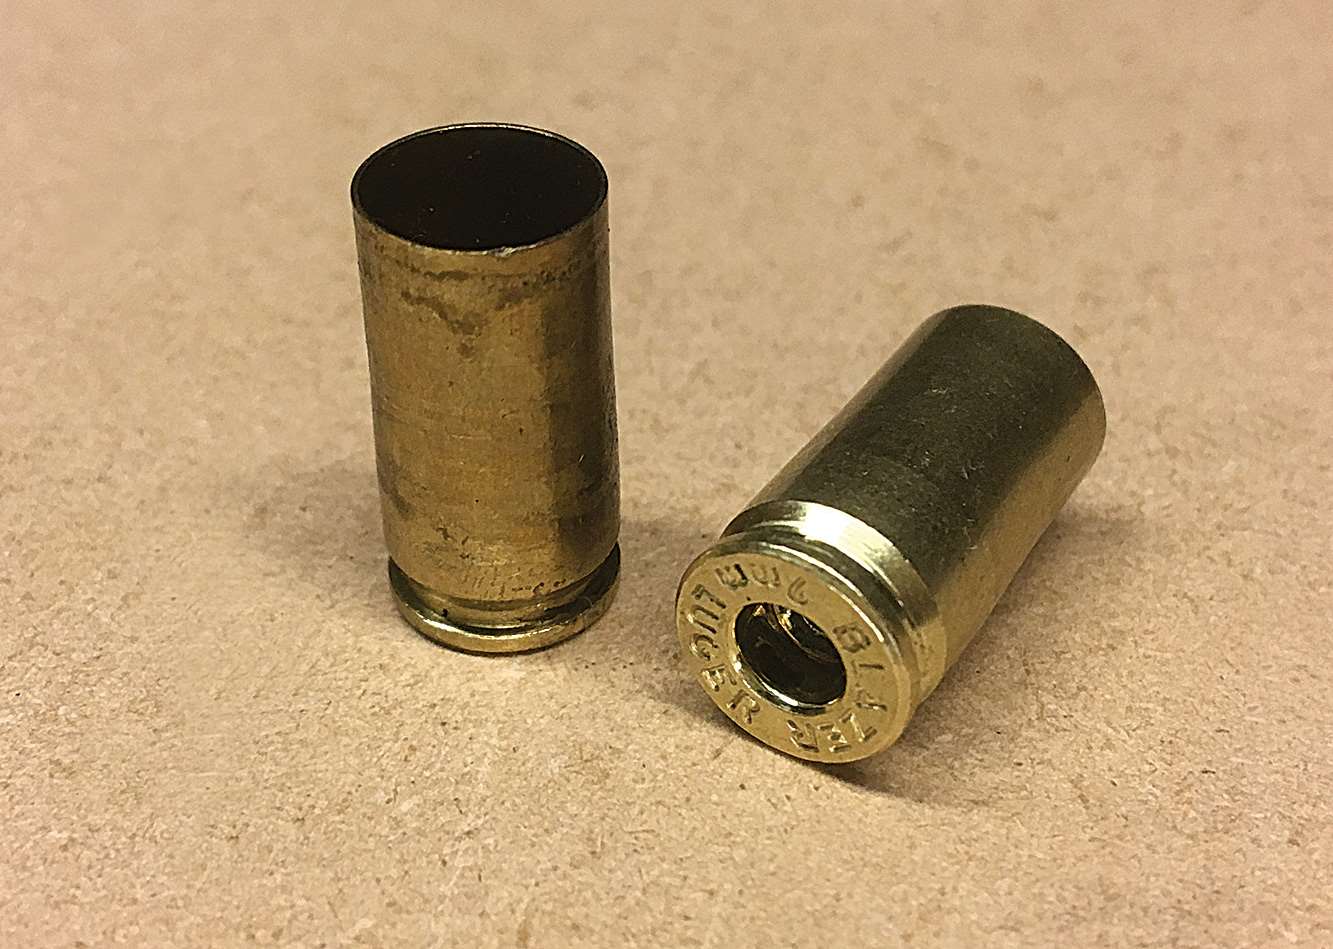
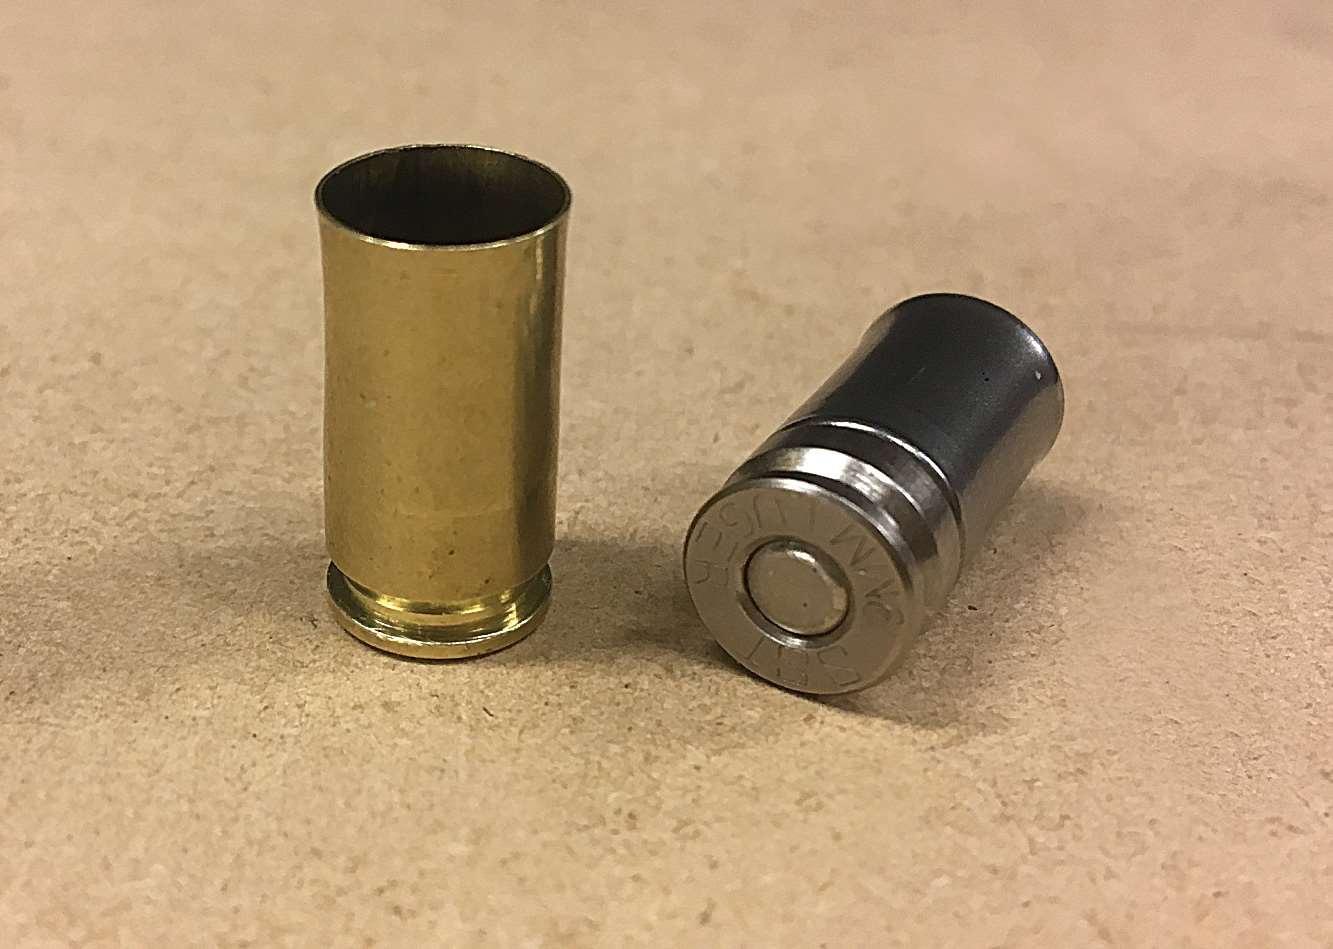
First, the empty case must be sized. Such an “empty” can either be a new case (shiny but expensive), or a case that has already been used—that is, previously loaded and fired—one or more times (quite often dirty, but cheap). The device that does sizing (or resizing for fired cases) will be a die of precise internal dimensions, essentially a tube that presses the external case walls to a known starting shape. Each caliber generally has its own re-sizing die, though .40 S&W and 10 mm, and .38 Special and .357 Magnum are notable exceptions.
Next, and most often combined with sizing, is “de-capping”—simply the removal of a spent primer by a firmly mounted punch. This punch is centered in the resizing die, providing the twofer: As the outside of the case is reformed (or, trivially, formed on a new case), the tip of the de-capper pushes through the flash hole and drives the spent primer out. On a new case, of course, this step isn’t needed—there’s no spent primer in the way of re-priming—but it also does no harm, nor adds any effort.
Here, a pause: You may be thinking “Aren’t both the sizing and de-capping steps unneeded with new cases?” Clever you, since the answer is “yes.” But depending on your system—generally called a press—there may be no benefit to skipping these steps. (We’ll get to why this is so down the road in a discussion of single-stage vs. multi-stage reloading.)
Steps one and two are what you might call case prep, and step three is where building your new cartridge begins. Here, various mechanics are used to position a new primer under the recently vacated primer “pocket,” and guide the press fit—technically called “seating”—of a new primer into the base of the case.
If you recollect our discussion of priming compound, this may seem a little chancy given the intentional sensitivity of primers to external forces. A safety margin is built into most presses, however, to prevent exactly this. But we also give the first rendition of a warning we’ll repeat ad nauseum anyway: Don’t force anything when reloading, and especially do not add speed to force. At best, you’ll break stuff; but unwelcome “bang” is also possible. Be sensible, and you won’t get anywhere near trouble in this process. (We calculate we’re at over half a million rounds, and we’ve inadvertently detonated one primer. It’s a loud pop that will startle you big time—and also why you should always, always, always wear eye protection—but otherwise? Pffffft. Be careful, and chill.)
Chain detonation of some primer feed systems is a (rare) problem in some setups, but we reiterate our “NEVER add speed to force” recommendation; it can almost always prevent this. More on this, too, down the road.
Another twofer often happens here: The case mouth is flared or “belled” to receive the bullet. This is a straightforward process where an under-diameter pilot guides the case mouth onto a chamfered expander that opens the first few thousandths of the case mouth. In a couple of steps, this belling will let the bullet slide into the case without damage to the base or jacket, and also without catching the edge of the case itself: a sure way to asymmetrically crush and ruin it.
Step five is charging, or filling the case with powder. In theory, it’s a piece of cake, but is also where things can go badly if not immediately wrong. Overflowing a case is to be avoided (always sweep up spilled powder, never vacuum it up) and will happen to every reloader sooner or later. It has the benefit of being obvious, and easily fixed. But too much boom-boom dust entering the case without overflowing is perhaps more worrisome. The consequences may only become apparent days, weeks, even years later, but you’ll hate them just the same. We doubt elaboration is necessary, but we’ll do some anyway later on.
No powder in the case is also a potentially serious problem. Such a round is called a squib, and harkens to the underpowered nature of a bullet propelled only by the primer. Think it through even briefly, and the danger becomes readily apparent: A squib will lodge a bullet in the barrel. If you should follow that with another projectile at normal power/velocity, disaster is very likely, particularly in a rifle.
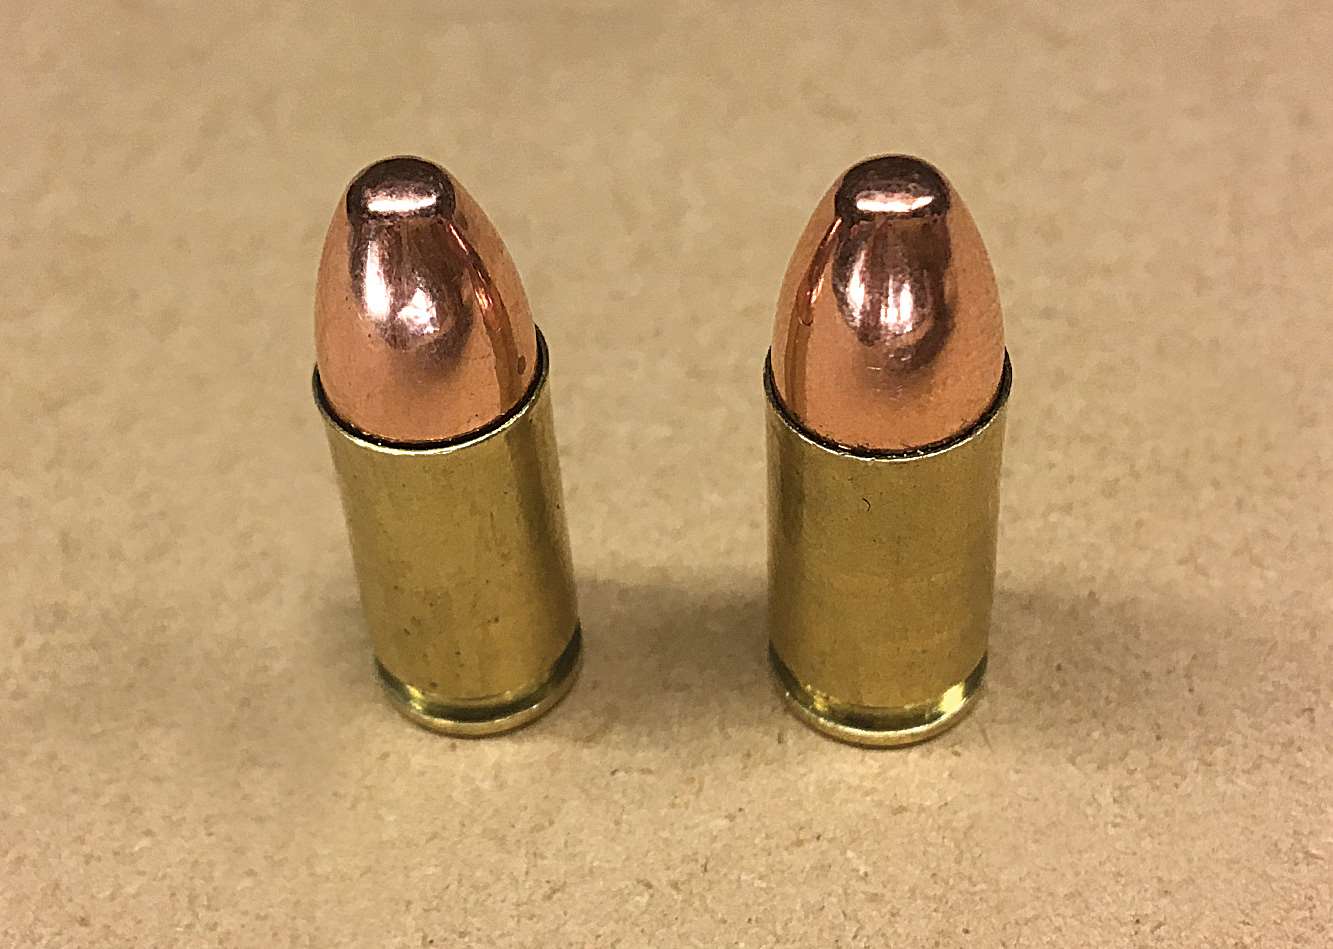
Three of four components are now assembled. Resized and reprimed, our charged case is ready to be topped with a bullet in step six. This step is generally called “seating,” and is occasionally combined with step seven–closing the flare we created in step four with a chamfer in the other direction. This is occasionally called “seating, crimping and squealing in triumph like a small, overindulged child.”
Oh, wait. It’s just called “seating.” (And you only get to squeal the first time.)
Two points here. We emphatically don’t hold with seating and crimping in the same step, though it is still recommended in many processes, and dies are built to facilitate the combination. The basis of our objection is geometric, both in terms of how such a process is achieved, and how it affects the shape of the final, assembled round.
For seating and crimping to work in the same step, you must use cases that are “lotted” by length, and preferably, by manufacturer as well. The first proviso is the more complicated: Unless lengths are quite close (+/- .002) flare closure will be inconsistent enough to cause chambering issues, even tightly-stuck guns and therefore out-of-action guns. The second is simpler, and is related to wall thickness in the case itself. This varies more than you might guess, and can therefore affect flare closure.
Die setups that try to do both tasks can introduce a third problem, though it isn’t, technically speaking, a crimping issue—seating depth of the bullet can vary more. At the extremes this can cause feeding problems; more likely, it will just reduce consistent performance though powder disposition issues. (More on this poorly understood phenomenon down the road.) But it’s also just one more reason to seat separately.
The last operation is crimping. For auto-loaders, the goal is to close the flare just a couple thousandths beyond “straight,” and is hence called a taper crimp—the case tapers, or slopes, gently inward and holds the bullet in the assembled cartridge. This relatively smooth transition gets past the magazine rim and over the ramp-to-chamber interface of the barrel (or frame to ramp in a conventional 1911 and similar designs), yet retains enough excess diameter to stop (technically, “headspace”) the case on the chamber shoulder. This is helpful to both accuracy and reliable ignition.
For revolvers, a different style of crimp is often recommended, namely a “roll” crimp. This holds bullets much more tightly than a taper crimp, and resists the tendency of bullets to set back in their respective cases under recoil. It has the disadvantage of “working” the case mouth harder than taper crimping, and thereby shortening case life. But it does solve the set back problem in decisive fashion. Medium power revolvers generally won’t require such a crimp, and of course speed-loader-fed revos will prefer taper-crimped rounds.
There you have it—the seven essential steps to creating a new round out of a case, primer, powder and bullet. Next time, we’ll look at reloading systems. In general terms, there are four—single-stage, turret, progressive, and “automatic”—and each has advantages. As you may well divine, these systems generally trade money for speed, and we’ll consider those pluses and minuses.
Frank Winn has been studying arms and their relationship to tyranny, meaningful liberty and personal security all his adult life. He has been a firearms safety/shooting instructor for more than 20 years, and earned state, regional and national titles in several competitive disciplines.


